
Putting Contrast to Work with Your iPhone

My iPhone 5s makes a pretty spectacular camera. In fact, it’s the best camera on earth when it’s the only one I’ve got with me. As it was a few evenings ago, on the waterfront in coastal Maine. The late afternoon sun was etching contrasts onto masts, along the boats’ float lines, into the current and spinning out its final golden rays.
The iPhone really excels at capturing such contrast—especially with a little assist from one of my favorite (and free) iPhone apps in my collection, Snapseed from Nik Software. But don’t take my word for it; read the kudos given to Snapseed by PC Magazine here.
The latest version of Snapseed, 1.61, offers two features to get really excited about:
- A new HDR SCAPE filter that brings the trendy High Dynamic Range look to your images
- A new Shadows slider in Tune Image that brightens dark areas naturally
Both of those new features help you do a lot with contrasty photos shot in lots of sunshine (my favorite kind), by enabling you to bring out the detail and depth in the dark areas.
That’s in addition to the other edits and effects you can use to ramp up your shots, including all of the basic adjustments (crop, straighten, selective adjust, saturation, sharpening, contrast, brightness and the other usual suspects), and creative enhancements (like Tilt-Shift, Vintage Films, Center Focus, Drama, Grunge, Retrolux, Frames and more).
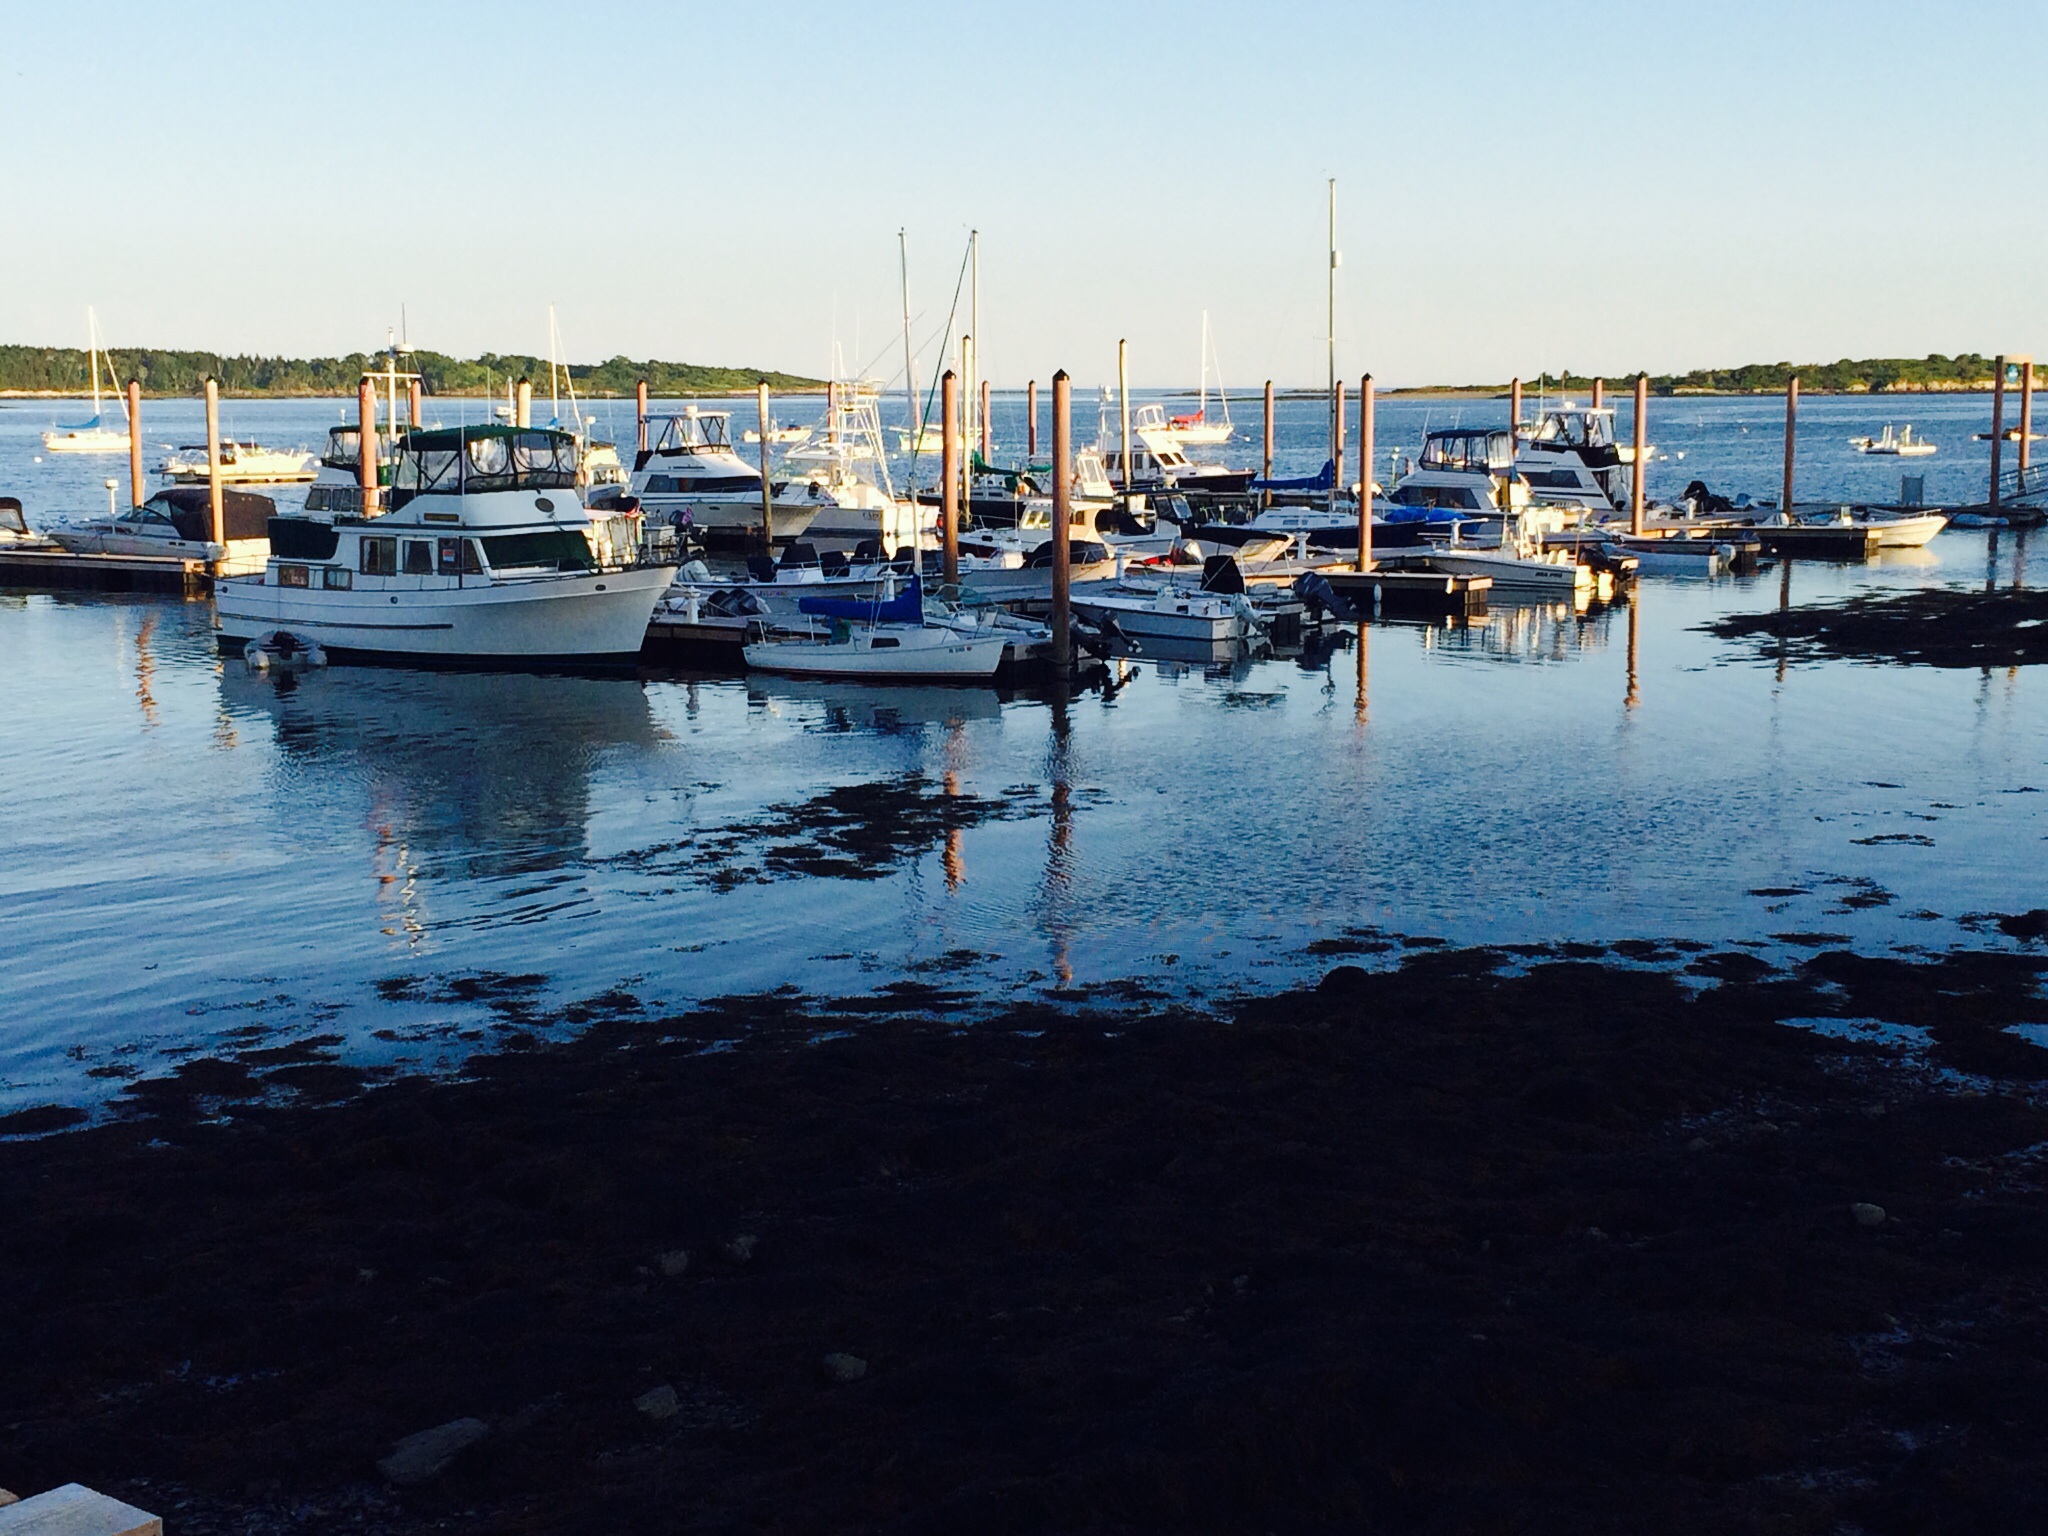
The workflow I use, when I’ve got my iPad Mini Retina with me, is to shoot on my iPhone 5s and adjust in Snapseed on my iPad. In my photograph Contrast on the Waterfront (top, post-processing, above, pre-Snapseed), here’s how it went down in just a few minutes:
- Used Tune Image to tweak the brightness, ambience, saturation and shadows. The ambience adjustment warmed up the whites nicely, and the shadows slider brought out some detail in the deeps. Saturation and brightness (both critical to use) are always best used cautiously.
- Used Selective Adjust in the darkest areas to brighten the shadows a bit more.
- Used HDR Scape just because I could. Its ‘Filter Strength’ setting makes a great case for less is more. But it’s fun to see what all the HDR fuss is about when you’re using this edit.
- Used Details to sharpen a bit. And once again, less is more.
- Used Crop to . . . you guessed it. Didn’t need to straighten, but that would have been another easy edit.
- Saved the finished image to my Photo Library.
- Had I been in a sharing mood, I could have astounded the world with my photograph via Google+, Email, Twitter, Facebook, or any other available sharing/saving photo app on my iPad.
I could have printed my image directly from Snapseed too, but that’s not something I’d recommend with an iPhone photo, unless you’re anti-resolution—because the quality of your resolution will vary (based on a lot of factors). iPhone photographs are great for many things, most all of them online, and most all of them ideally suited to 72 ppi images.
You’re not limited to your iPhone photos when editing with Snapseed—you can work with your RAW, TIFF and JPEG photos made on your digital camera in Snapseed, too, on your iPad.
So the next time you hesitate to make your shot because you don’t have your real camera with you, and you don’t think your iPhone can handle the contrasts you’re throwing at it, think again—and just shoot it. You can let Snapseed take it the rest of the way later. ♣
If you like video tutorials, the iPhone Photography School’s got one for you on Snapseed here. But the app is so fun to play with, that you’ll no doubt teach yourself in-between shots. You can see how other iPhone photographers are using various apps to edit here, at LensandPens. Take a look at some of my other articles about shooting with your iPhone here.

Will you give a private lesson using photos that I have on my iPhone?
Haha you flatter me! But of course. Get Snapseed and check it out. Amazing that it’s free—others in its class aren’t.
I love Snapseed. It was one of my first photo apps (even paid $4.99 back in the way when it *wasn’t* free) and continues to be my go-to choice, even after adding dozens of others to my iPhone and iPad.
And this: “Used HDR Scape just because I could.” Loved that line!
Thanks Kim, nice to find a kindred Snapseed spirit. How do you like the new HDR Scape feature?
Snapseed is my go to for editing fun. There is a weekly phoneography challenge on Monday’s on WordPress; today’s challenge is using apps to edit photos…you can check mine out here: http://angelinem.wordpress.com/2014/06/30/phoneography-challenge-editing-dragon-fruit/
Thanks for that alert, Angeline. Nice to know we have Snapseed *and* wine in common. Checking yours out next!
I’m a fan of Snapseed too !
How great to find all of these Snapseed fans! How do you think it stacks up against other photo editing apps?
To be honest, I’ve only used one other, which is InstaEditor. I use it when I want to send a picture with a little message. Otherwise, I use Snapseed primarily.
I just took a course in iphoneography at Maine Media Workshop which introduced me to many new ways to use iPhone photos. Loved it.
Thanks for commenting, Lulu. The Maine Workshops are such a wonder, how fabulous for you. What tricks did you like the best?
Snapseed is also my favorite! All my travel photos taken with my iPhone are quickly edited on Snapseed before sharing. You have some great pics here! Hope you are having a great time.
Thanks Maria, nice to be hearing all of this validation about Snapseed. Have you tried the newest HDR Scape effect yet?
Well, I must say that I bought Snapseed last year, and could not fall in like or love. BUT your commentary, which I will peruse carefully, may convert me. It seems that many are as enamored as you are. Your image is quite captivating. I’ve loved my iPhone 4s. Is the 5s your first iPhone? Delighted that our paths have crossed.
Ditto, nice to connect, Sally. I’ve lost track of my iPhones, but when I moved from the 4s to the 5s the camera improved in light years! Hope you try Snapseed out again, and let me know how it goes. What apps are your go-tos?
Nice to see you at the Phoneography Challenge, Jann. I have Snapseed, but haven’t used it yet. So far, Picasa 3 has been my go-to app.
janet
Thanks, Janet, that’s not one I’ve tried. Of course the ones I download and then leave in the dust are too many to count … Thanks for connecting with me on this one.
Like Sally I’ve had an on/off relationship with Snapseed (actually I uninstalled it this morning!). But now with you terrific walk through I might just have to reinstall and try again. It certainly did improve the image. Thank you.
Thanks Margaret, I appreciate getting your reaction and I’m glad you found this helpful. Hope you give Snapseed another go. What apps are your favorites?
I love your ode to iPhone 5…I have an old 4s which I am holding on till September when the new 6 comes out with even high resolution…I do use Snapseed often but I am very fond of Phototaster with it’s sliders as well as many, many filters…Its like a candy store for me 🙂
Nice to meet you Jann
Carol
Nice to meet another iPhone lover, Carol. Thanks for stopping by. Will check out Phototaster. BTW–All iDevices are iCandy to me!